Software#
With the exception of git and the various Python distribution, the following software should already be installed on the terminals in the Seismic lab. Below provides an overview for when you want to setup the environment on your own computer or elsewhere.
Agisoft Metashape#
Agisoft Metashape (previously Photoscan; Metashape throughout the module) is a well known software suite for SfM photogrammetry. Metashape is available for all major operating systems, and can be downloaded and installed as both a standard and professional edition. The Professional Edition is installed on computers in the seismic lab. While these licenses can not be made available for personal computers, Agisoft does offer a month-long trial period for both versions. Those wishing to installed Metashape are therefore redirected to the Agisoft Downloads section.
Version mismatch
It is always recommended to install the latest version. However, following the release of major and minor software updates, small incompatibilities may exist between the current module. If found, please report these by raising a Github issue.
Github#
git#
Python#
Agisoft Metashape has a Python API. This means that we can use Python to manage the processing rather than use the GUI. We highly recommend using Miniconda. Miniconda is essentially a bare-bones Python installation to which additional packages can be installed using the conda package management system.
In case you already have Anaconda (or Miniconda) installed on your computer, you can use that during the Geo-SfM course without any issue. We do, however, recommend creating a separate environment for this.
Installing Miniconda#
Head over to Miniconda and install the latest Python 3.x installer that is available for your platform (i.e., Windows, macOS, Linux).
Installing packages with Conda#
Conda has a great online user guide available in case you get stuck. Nontheless we will be going through the basic commands below.
The Conda prompt#
You can interact with the Miniconda installation through the Anaconda Prompt. Access this from your start menu, and you will be greeted by a command line interface (cli).
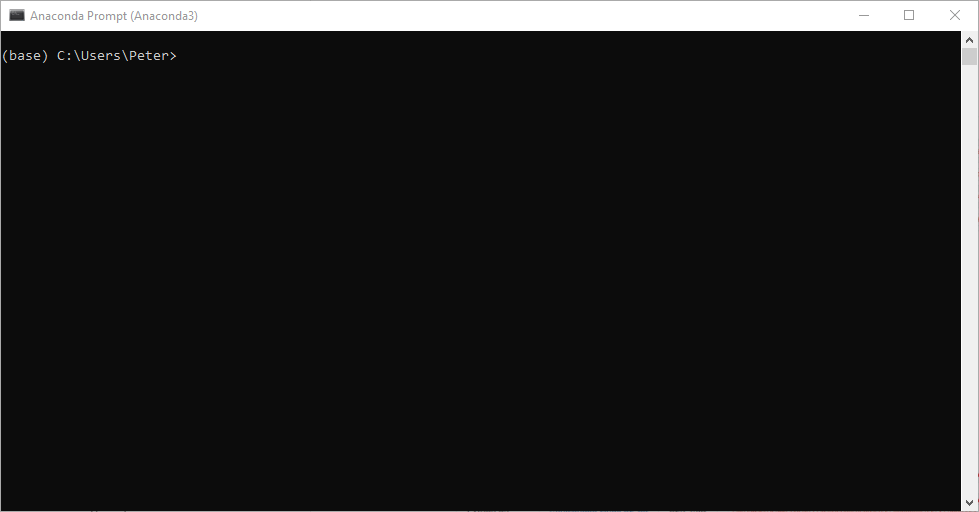
Fig. 86 The Anaconda Prompt shows our current working directory and the environment we are in (base).#
Creating and activating environments#
To prevent our work from interfering with other applications, we can create separate, unique environments for us to install packages to. It is recommended to do so for this tutorial as well, so we will start with the following to create an environment named automated_metashape (hit y if prompted):
conda create -n automated_metashape
Once you run this command, you will see that you can activate and start using the environment like so:
conda activate automated_metashape
Everything we install from this point onwards will be installed in the automated_metashape environment. That also means that when we want to launch interactive interfaces, we will have to do so from the Anaconda Prompt with an activated automated_metashape environment.
Installing Python and required packages#
With the environment all set, we can now install Python and the required packages using the conda install command. The basic syntax is conda install package-name, but we can specify a particular conda channel to specify where the package is downloaded using the parameter -c. So let’s proceed with first installing Py37 (Python 3.7) and then the required packages for the automated metashape scripts.
conda install python=3.7
conda install pyyaml -c conda-forge
conda install numpy -c conda-forge
conda install pandas -c conda-forge
conda install geopandas -c conda-forge
conda install opencv -c conda-forge
conda install jupyterlab -c conda-forge
To interact with the Agisoft Metashape API, you also need to install the Python 3 Module (v1.7.0 - time-of-writing). Once downloaded, change your current working directory to your downloads folder:
cd C:\Users\{name}\Downloads
TBD...
TBD...
And then install the downloaded .whl file using the pip package installer for Python.
pip install Metashape-1.7.1-cp35.cp36.cp37.cp38-none-win_amd64.whl
pip install Metashape-1.7.1-cp35.cp36.cp37.cp38-abi3-macosx_10_13_x86_64.whl
pip install Metashape-1.7.1-cp35.cp36.cp37.cp38-abi3-linux_x86_64.whl
Finally we can install the automated metashape scripts using the pip manager. Download the latest pip redistributable and install:
pip install automated_metashape-0.1.2-py3-none-any.whl
Cite me
Please cite the following acknowledgement when using the automated metashape scripting package:
Betlem, P., Birchall, T., Mosociova, T., Sartell, A.M.R., and Senger, K., 2020, From seismic-scale outcrop to hand sample: streamlining SfM photogrammetry processing in the geosciences, ARCEx, https://arcex.no/arcex-2020/.