How to fly a multirotor UAV#
Flying a multirotor UAV for the first time can be challenging for anyone. There is a learning curve to it. The goal of this section is to help you fly your UAV safely and efficiently during your acquisition campaign. When creating your flight plan, you will need to decide if you want to fly manually or plan an automatic flight.
Fly manual in Svalbard
In Svalbard we highly recommend flying your UAV manually. There are multiple reasons for this:
Low terrain model resolution. The Digital Elevation Model (DEM) in Svalbard has a maximum resolution of tens of meters.
Changing environment. Glaciers, morraines, coastal fjord’s morphology significatively altering every year. This means that the base map in your controller may not include all the morphological changes that have taken place since the time of your flight. If you plan your flight solely based on this map, there is a high risk of crashing your UAV into a newly formed and changed morphological feature.
Manual#
As we discussed, manual flight is the preferred method in Svalbard.
When operating the UAV, it is advised to keep your focus on the controller screen. Initially, you may be inclined to look at the UAV in flight. However, please note that the controls will be reversed depending on whether the drone is facing towards you or away from you. To avoid confusion, utilizing a First Person View (FPV) allows for better visualization of the UAV’s movements, rather than its orientation towards you, resulting in a smoother flight.
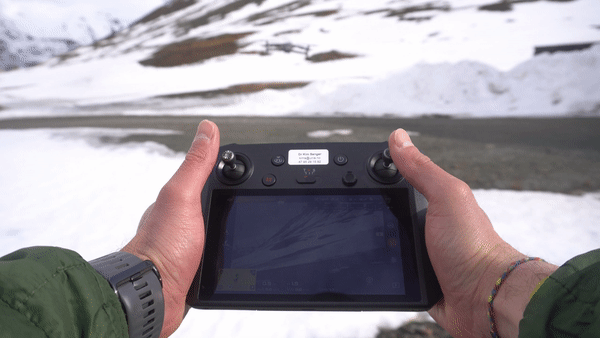
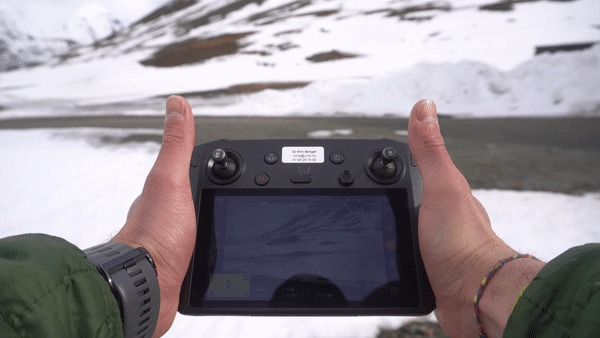
Smart Controller layout
The controls layout shown throughout this section are based on the default settings of the DJI Smart Controller.
UAV controls#
As you continue to fly for a few hours, you will become more familiar with how the controls work together to provide a complete flying experience. When you first begin, it’s best to gently push the sticks to create small movements. As you become more confident, you can increase the intensity of your movements for sharper turns and maneuvers.
There are four main drone controls:
Roll: Roll moves your drone left or right. It’s done by pushing the right stick on your controller to the left or to the right. It’s called “roll” because it literally rolls the drone.
Pitch: Pitch is done by pushing the right stick on your controller forwards or backward. This will tilt the drone, resulting in forwards or backward movement.
Yaw: Done by pushing the left stick to the left or to the right. Rotates the drone left or right. Points the front of the copter in different directions and helps with changing directions while flying.
Throttle: Throttle gives the propellers on your drone enough power to get airborne. When flying, you will have the throttle engaged constantly. To engage the throttle, push the left stick forward. To disengage, pull it backwards.
Power your UAV#
To power on your DJI UAV, you’ll need to press the battery on/off button twice. Press it quickly first, then hold it down for a longer period. You’ll hear a “click” sound as the UAV engines are armed and the lights around the button will indicate your battery level.
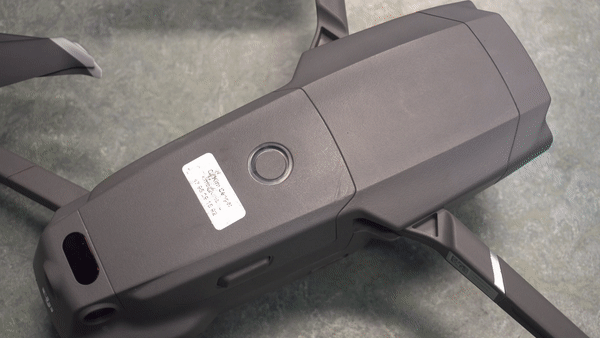
Fig. 27 Press and hold the power button on a DJI Mavic 2 Pro to power on the UAV.#
To power on the Smart Controller, it is the same steps as with the UAV.
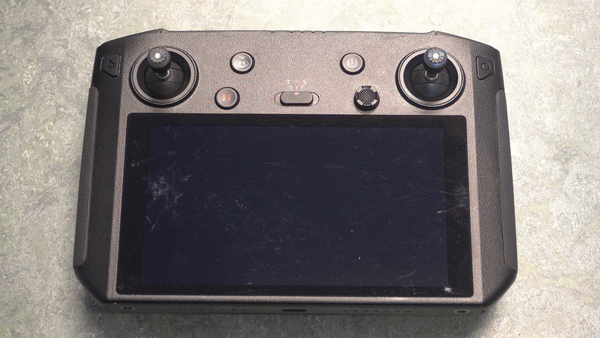
Fig. 28 Press and hold the power button on the DJI Smart Controller to power it on/off.#
Position of the antennas#
For optimal signal reception, ensure that the remote controller’s antennas are directed towards the UAV. In case of weak reception, try rotating the antennas 90 degrees.
How to take-off#
To launch your UAV, the only control you need to use is the throttle. We suggest gradually pushing up the throttle stick (left joystic) multiple times until you feel at ease with its sensitivity. When you are comfortable, you can increase the throttle to lift the multirotor off the ground.
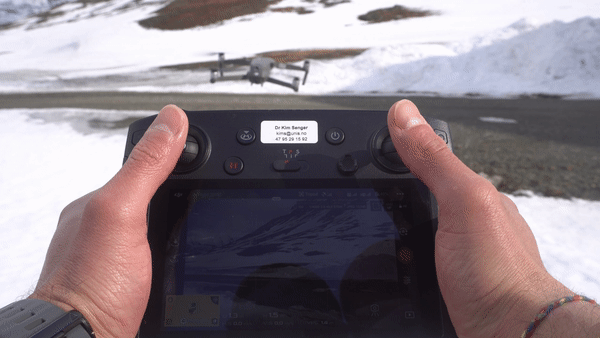
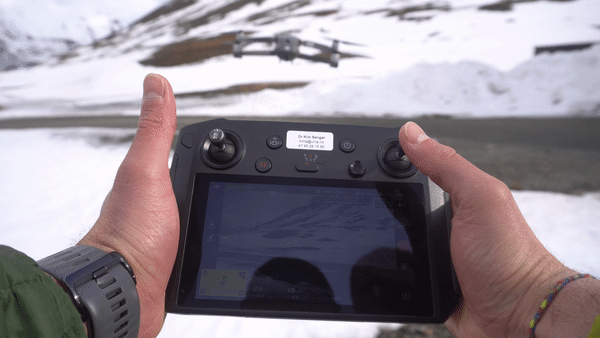
Flying DJI UAV multirotor
To take-off with DJI UAVs you first need to pull both sticks towards the center to arm the UAV. This will start the propellers. Then push the throttle stick to give throttle and lift the UAV.
DJI UAVs are programmed so that you don’t need to push the throttle stick continuously. In other words, if you want to hover the UAV in mid-air, you simply need to leave the throttle.
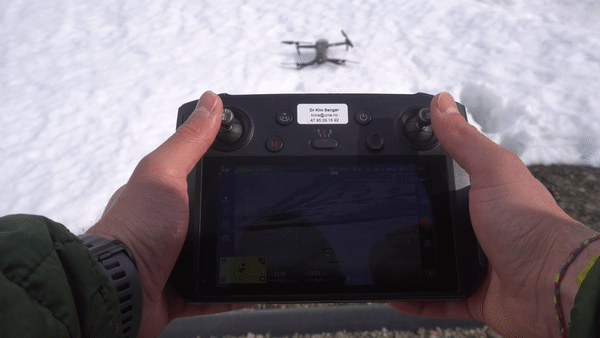
Fig. 29 Pull both joysticks towards the center and then push the left stick.#
How to land your UAV#
To land the UAV you need to cut back throttle slowly. It is important that you practice and get comfortable landing gently to avoid damage to the UAV.
Flying DJI UAV multirotor
When landing a DJI UAV, simply pull the throttle stick towards you. These drones come equipped with sensors that regulate their distance from the ground. As the drone approaches a height of 20 cm from the ground, it will stop automatically to prevent any collisions. If you wish to land the drone directly on a specific spot below its position, you can pull the throttle stick to the maximum and the drone will land automatically.
You can land on a flat and homogeneous surface:

Fig. 30 To land move the left throttle stick downward for about 3 seconds.#
If the terrain is uneven or is tilted, it is advisable to land the UAV on the co-pilot’s hand.
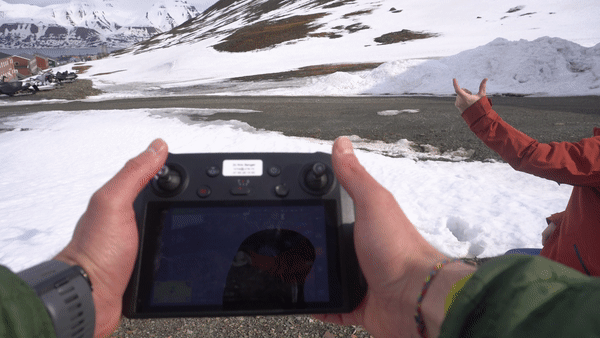
Fig. 31 To land on the hand, also the left throttle stick downward for about 3 seconds. Do not move the hand.#
Don’t chop your fingers!
In order to avoid any potential injuries, it is important that you are very careful when dealing with the UAV’s blades. We highly recommend that you approach the UAV from below and securely grip the center body with your fingers.
Return to home (RTH)#
The DJI Return to Home feature ensures the safe landing of your drone by bringing it back to either a pre-selected home point or a safe landing spot. In the event of a communication loss between the controller and the drone, the feature will automatically activate, causing the UAV to fly up to a predetermined height before returning to the home point. To avoid any obstacles on the way home, it’s crucial to set the height high enough. It’s recommended to set the height each time instead of setting it to a very high number and forgetting about it, as running out of battery on the way home could cause a forced landing.
User recommendations
It is advisable to avoid using the Return to Home feature to land your UAV. As per regulations, pilots with an A1/A3 license certificate have to fly within line of sight, and it is advisable to land the UAV manually for better control.
Move left/right and forward/backward#
To fly a UAV left, right, forwards, and backwards, you will need to hold the throttle at a steady rate (do not touch it when using DJI UAVs) to keep it airborne. You will then use the right stick to maneuver the drone in the direction you want it to go.
Left/right#
Forward/backward#
How to rotate the UAV#
To rotate the UAV you will need to move the throttle stick right to move clockwise and left to move anti-clockwise. You can rotate the UAV 360 degrees.
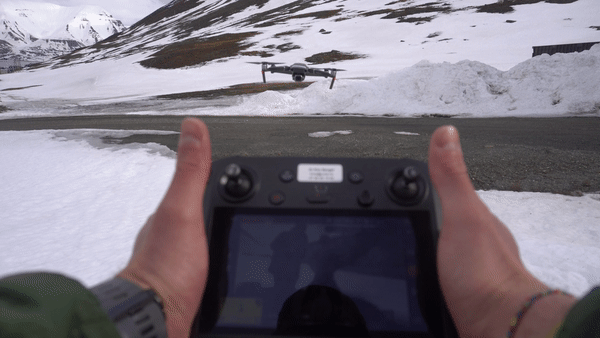
Fig. 36 Move the throttle stick to the right or left to rotate the UAV.#
Automatic#
Under construction!
The Geo-UAV module of on how automatically fly a multirotor UAV is still under construction.
Many apps and survey design software are available to automate surveys. They allow for planning the survey in the lab and executing it in the field with a simple command, maximizing flight efficiency, reducing pilot and observer workloads and in some situations, minimizing equipment risk. These tools work best for mapping planar surfaces or simple structures like buildings.
Explore more
PIX4D is a photogrammetry software to help you plan and capture your UAV mapping survey.