
Exercise 2 - learning the ropes of GCP and marker detection#
Deadline
Please complete this exercise by the start of the next session.
Learning goals#
After this session you will be able to:
Generate your own set of GCPs;
Manually detect GCPs in a set of images; and,
Automatically detect GCPs using computer algorithms.
Support
Please note that we only provide feedback and support for students enrolled in the course at the University Centre of Svalbard.
We now focus on familiarising ourselves with the concept of GCPs and markers. This includes the generation of both Metashape markers and open-source ArUco markers, as well as their manual and automated detection.
Assignment#
Proceed to the GCP tutorial while keeping the following assignments in mind:
Checklist and questions
The workflow:
Create a hand-drawn marker grid on A4 with 4 corners marked (i.e., the GCPs).
Measure the distances between the GCPs, treating the top left corner as your origin GCP (=0,0).
Place a small object in the middle, not covering any of the grid points.
Image the object as per last session.
Create a new Metashape project conforming the standardised project environment
Import photos, manually detect the GCPs, and assign real world coordinates to the GCPs
Run all steps leading up to and including texture generation (and export processing report).
In addition, please come up with some thoughts on the following statements:
GCP detection requires only part of the markers to be visible in an image
A GCP should always be fully imaged in at least five images
The original, real-world object and the digital model are identical in dimensions (pro tip: measure this using the ruler tool).
The Student’s approach to markers in Corona-lockdown.
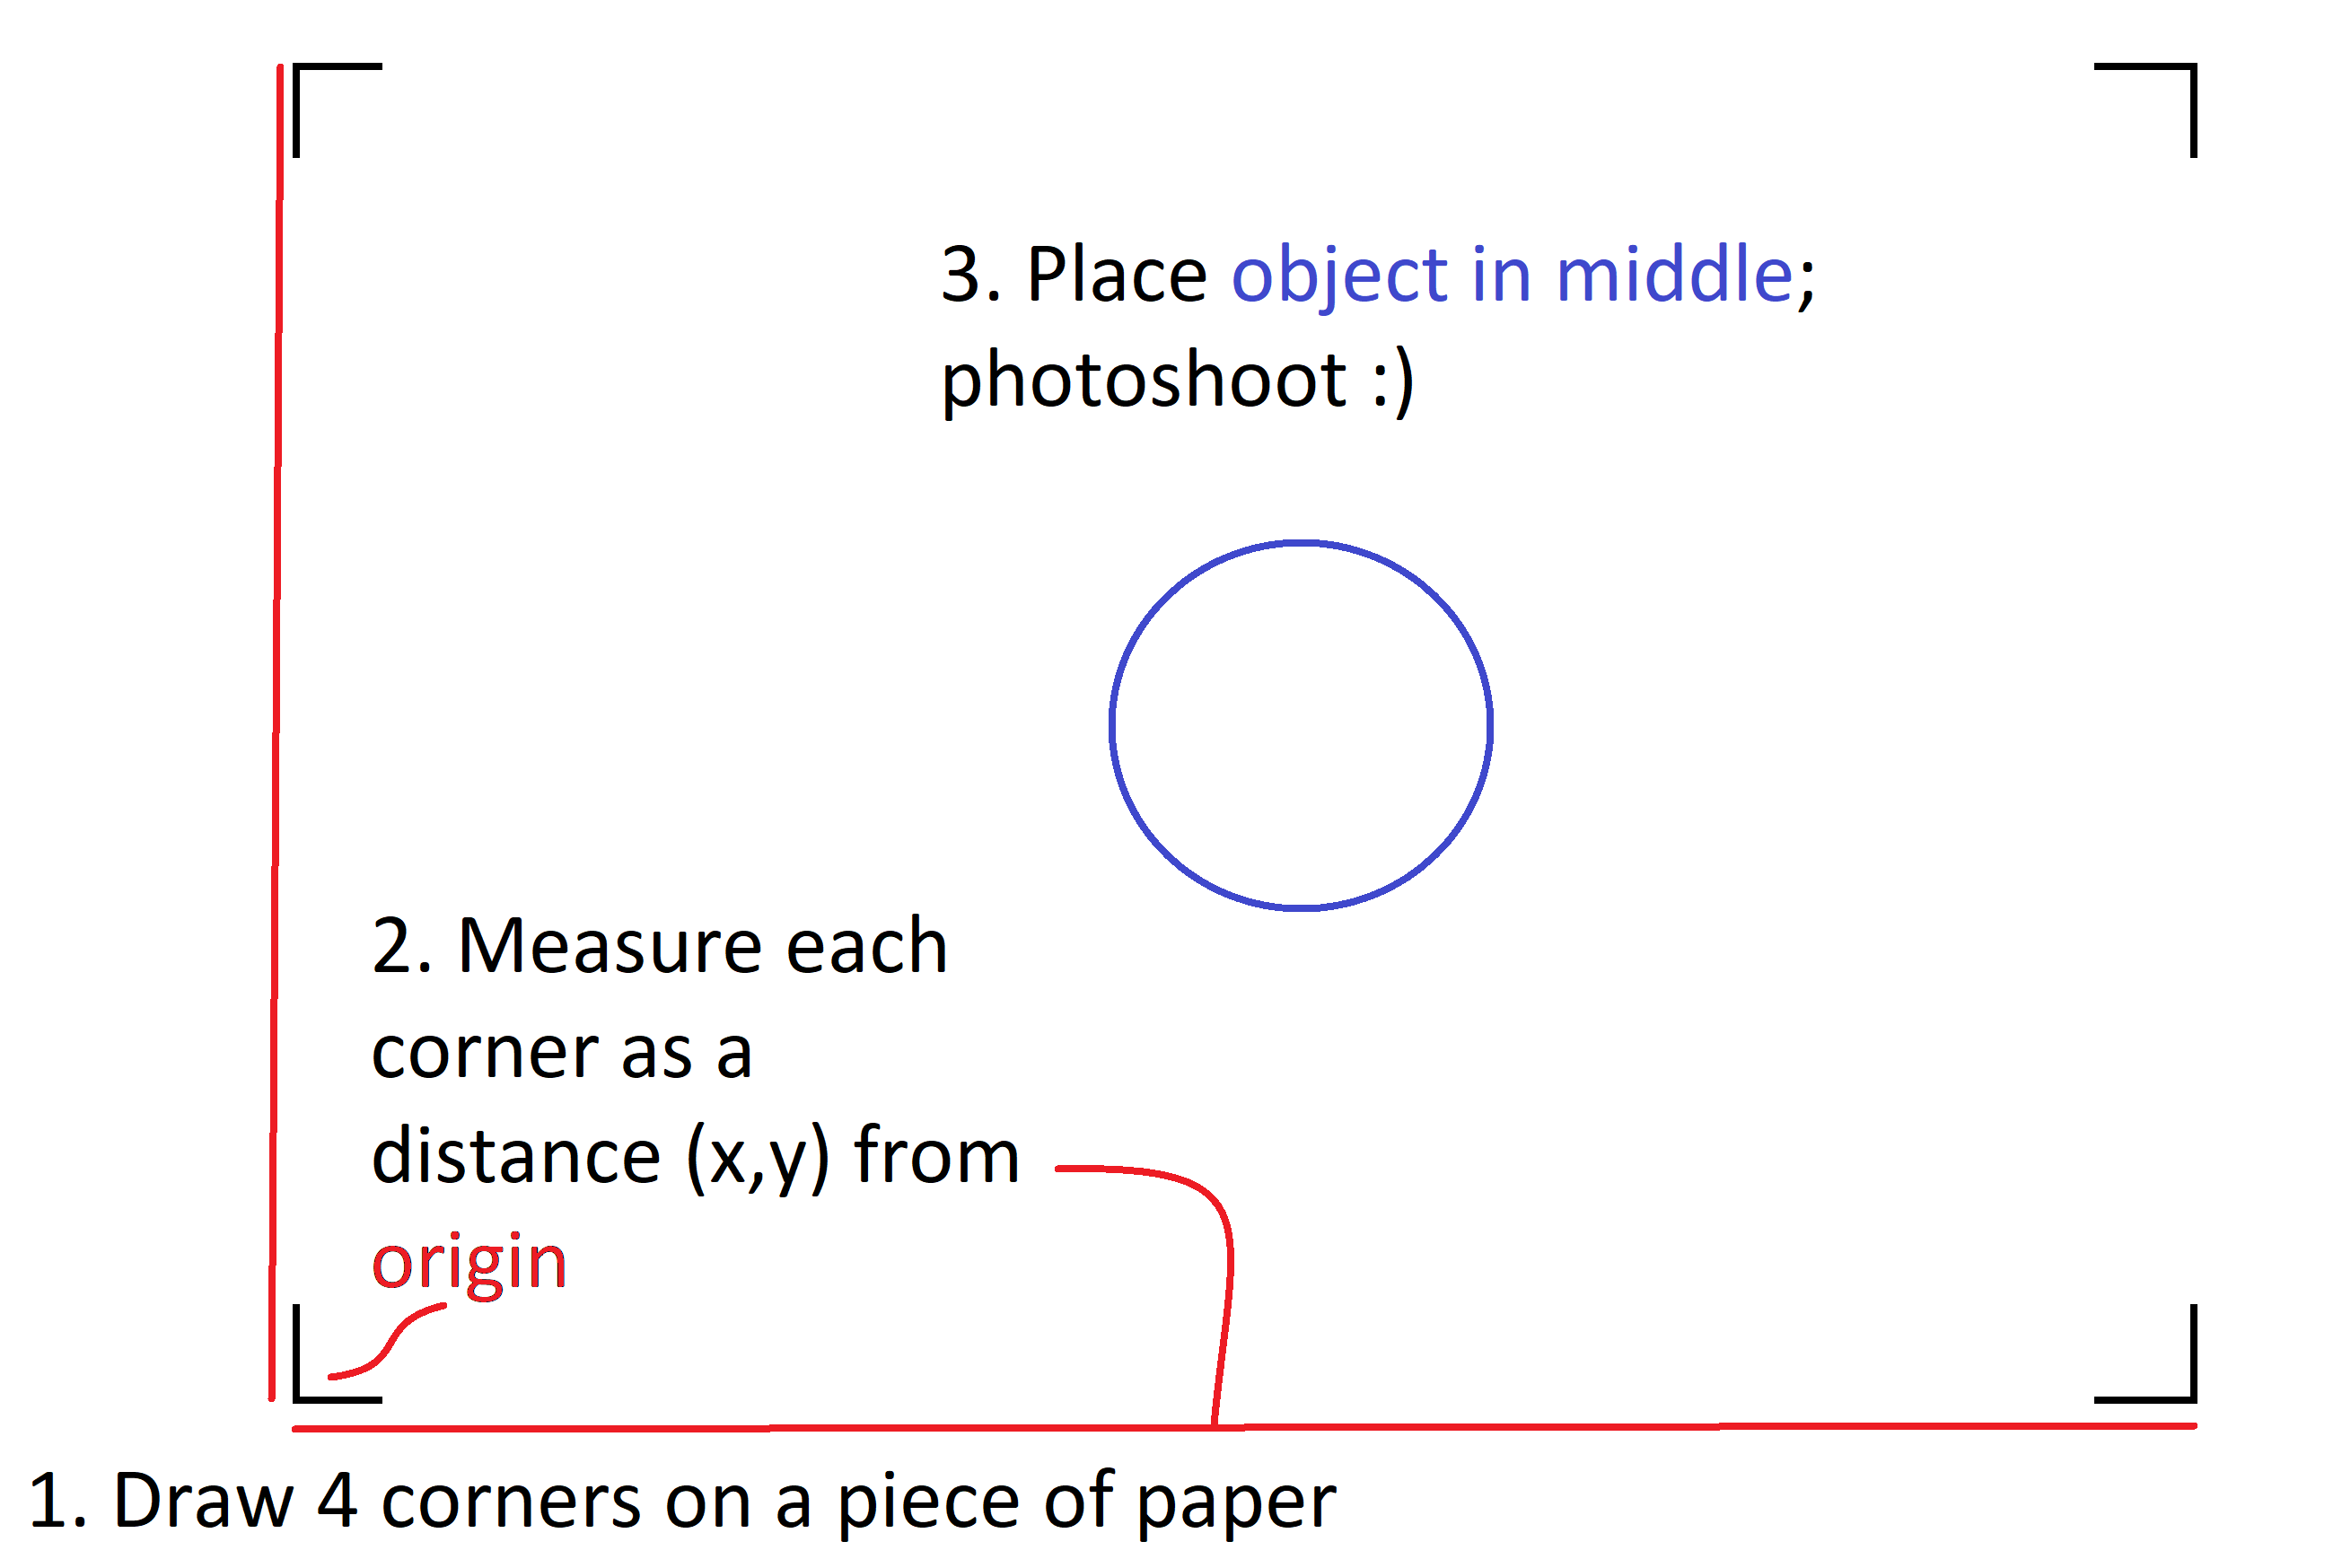
Fig. 34 One does not need to use the binary markers per se. As long as you have access to a ruler, pencil, and flat (and big enough) piece of paper, you can create your own marker grid. Then simply put the object in the middle, and voila!#
Stuck in home-office without a printer but still have access to paper, a ruler and pencil? You’re out of luck when it comes to automated GCP recognition. However, you could always measure out 4 points and draw them on the paper in a rectangle. Make sure to set one corner as the origin (0,0), and use your ruler to measure the other marker-point coordinates correspondingly.
SfM photogrammetry workflow
Have a look at last session’s accompanying tutorial for some useful tips and tricks.